
Elastic.co has a product called Enterprise Search, formerly Swiftype, that’s aimed at businesses. Enterprise Search is like Google Search for internal company documents—an enterprise search tool for internal documents and files. It lets companies control who can access what documents. You can also use it to search public files on Google Drive, Github, Docker, etc., and write your own API to expose documents and files to internal users.
In this blog post, I’ll illustrate how to install Elastic Enterprise Search. In a subsequent post, I’ll talk about how to use it.
(This article is part of our ElasticSearch Guide. Use the right-hand menu to navigate.)
Install Elasticsearch
First, you have to download and install Elasticsearch —follow these steps. (Note: Enterprise Search will also install Filebeat. Its config file will be located here /usr/share/elasticsearch/enterprise-search-7.5.0/filebeat/filebeat.yml.)
Elasticsearch does not require a paid license, but Enterprise Search does. Luckily, you can use Enterprise Search for free for 30 days to evaluate it.
wget https://artifacts.elastic.co/downloads/elasticsearch/elasticsearch-7.5.0-amd64.deb
sudo dpkg -i elasticsearch-7.5.0-amd64.deb
Turn on security and bind Elasticsearch to a routable IP address, not localhost, so you could add other machines to the cluster:
sudo vim /etc/elasticsearch/elasticsearch.yml
add:
xpack.security.enabled: true
network.host: 172.31.46.15
Assuming you are logged in as user ubuntu (or change the name to your userid), change all folder permissions to ubuntu. This step is not logical, since you can’t run Elasticsearch as root. So, this patches up a step left out of their .deb file.
sudo chown -R ubuntu  /usr/share/elasticsearch
sudo chown -R ubuntu /var/log/elasticsearch/
sudo chown -R ubuntu /var/lib/elasticsearch/
sudo chown -R ubuntu /etc/elasticsearch
sudo chown ubuntu /etc/default/elasticsearch
Start Elasticsearch. If you cannot start it as a service, because it throws an error, you can start it this way. Note: you cannot run it as root.
cd  /usr/share/elasticsearch/bin
nohup ./elasticsearch&
Run this command to generate passwords for Elasticsearch; save these passwords somewhere.
./elasticsearch-setup-passwords auto
Initiating the setup of passwords for reserved users elastic,apm_system,kibana,logstash_system,beats_system,remote_monitoring_user.
The passwords will be randomly generated and printed to the console.
Please confirm that you would like to continue [y/N]y
Changed password for user apm_system
PASSWORD apm_system =XXXXXXXXX
Changed password for user kibana
PASSWORD kibana =XXXXXXXXX
Changed password for user logstash_system
PASSWORD logstash_system = XXXXXXXX
Changed password for user beats_system
PASSWORD beats_system = XXXXXXXXXX
Changed password for user remote_monitoring_user
PASSWORD remote_monitoring_user =XXXXXXXX
Changed password for user elastic
PASSWORD elastic = XXXXXXXXXXXX
Install Enterprise Search
Now, we’ll install Elastic Enterprise Search. Open firewall port 3002 to the public IP address of your server. This is the web interface for Enterprise Search.
wget https://download.elastic.co/downloads/enterprisesearch/enterprise-search-7.5.0.tar.gz
cd /usr/share/elasticsearch
tar xvfx enterprise-search-7.5.0.tar.gz
Make these changes:
cd enterprise-search-7.5.0
vim config/enterprise-search.yml
ent_search.auth.source: standard
elasticsearch.username: elastic
elasticsearch.password: oe4emGR6Wnwp1wEwiRle
allow_es_settings_modification: true
ent_search.listen_host: 172.31.46.15
ent_search.external_url: http://walkercodetutorials.com:3002
Choose a password and start Enterprise Search as shown below. This command looks a little awkward but this is how you both set up an initial password and provide the password on subsequent starts.
ENT_SEARCH_DEFAULT_PASSWORD=password bin/enterprise-search
To run it in the background, e.g., after you have finished the setup, do:
env ENT_SEARCH_DEFAULT_PASSWORD=password nohup bin/enterprise-search&
Now login using:
userid: enterprise_search
password: password
to http://(your server):3002
It’s important to look at stdout when you start the server to make sure it echoes this password. If you don’t see this message, erase the software and then delete the indexes that Enterprise Search created in Elasticsearch as shown in the Debugging section below.
filebeat.1   | #########################################################
filebeat.1   |
filebeat.1   | *** Default user credentials have been setup. These are only printed once, so please ensure they are recorded. ***
filebeat.1   |       username: enterprise_search
filebeat.1   |       password: password
filebeat.1   |
filebeat.1   | #########################################################
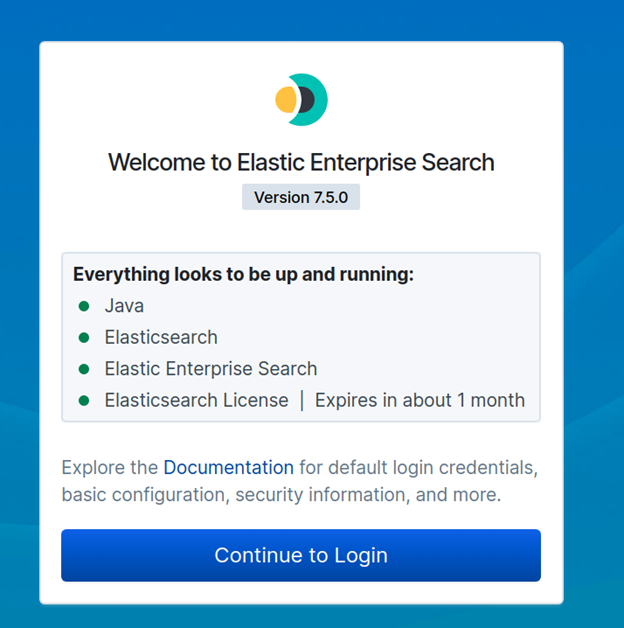
Here is the login screen:
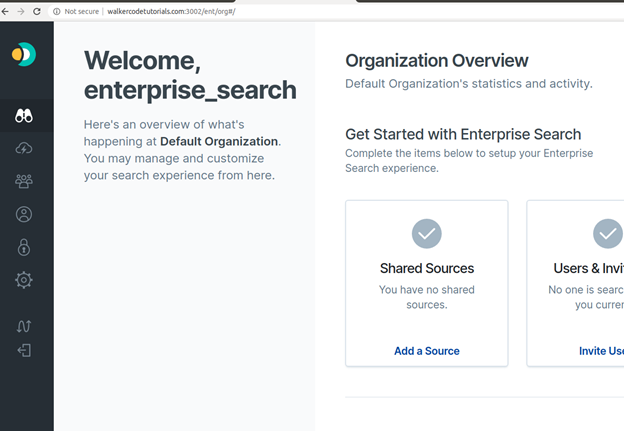
Here is the landing page:
In the next post, I’ll show how to configure Enterprise Search to query Google Drive, Dropbox, and Github.
Debugging Enterprise Search
If anything goes wrong with the Enterprise Search installation, you must delete the indexes that created in Elasticsearch before you repeat the installation.
You can list those indexes like this. Because you turned on security, you need to enter the userid and password. Use the Elasticsearch password auto generated above, not the Enterprise Search one you made up.
curl -X GET "http://(your server):9200/.ent-search*?pretty" -u elastic:(elasticsearch password, not the enterprise search password)
Then, delete all of them:
curl -X DELETE  "http://(your server)9200/.ent-search*" -u
elastic:(elasticsearch password, not the enterprise search password)
Now, reinstall Enterprise Search.
These postings are my own and do not necessarily represent BMC's position, strategies, or opinion.
See an error or have a suggestion? Please let us know by emailing [email protected].